Easy Installation of Rubber Speed Bumps
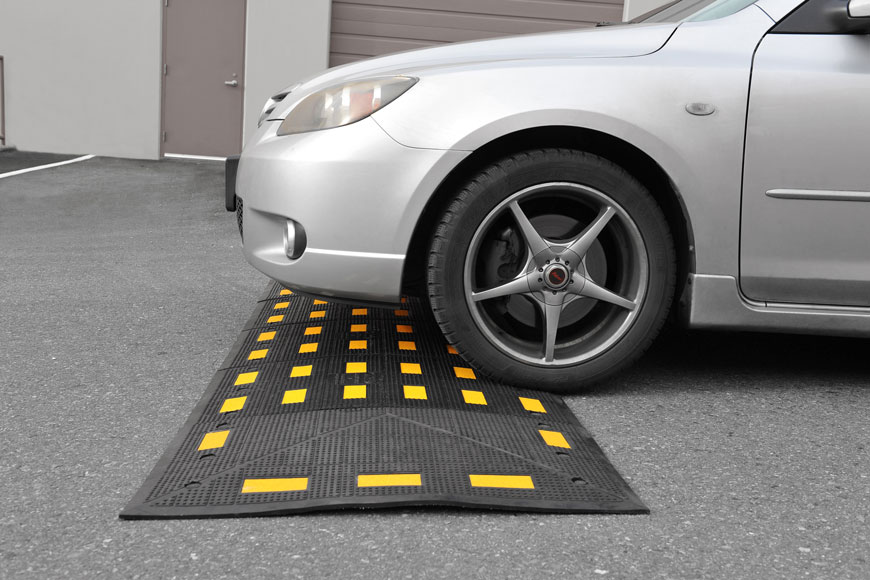
Rubber speed bumps are a practical solution to control vehicle speed and improve safety. Unlike traditional asphalt or concrete bumps, our rubber speed bumps do not require digging a trench, making installation faster and simpler.
Tools and Materials Needed
-
Rubber speed bumps
-
Drill with masonry bit (if installing on asphalt/concrete)
-
Anchor bolts or screws
-
Measuring tape
-
Chalk or marking paint
-
Safety gear (gloves, glasses, high-visibility vest)
Step-by-Step Installation
1. Measure and Mark the Area
-
Measure the road width and determine the number of bumps needed.
-
Mark exact locations using chalk or paint. Recommended spacing: 2–4 meters, depending on traffic.
2. Position the Speed Bump
-
Place the rubber speed bump at the marked location.
-
Ensure it is straight and centered across the lane.
3. Secure the Speed Bump
-
Drill holes into the road surface through the pre-made holes in the bump.
-
Insert anchor bolts or screws to fix the bump firmly.
4. Check Stability
-
Press down and ensure the bump does not move.
-
Adjust if necessary before allowing traffic.
Safety Tips
-
Always wear protective gear.
-
Use cones or signs to alert drivers during installation.
Speed bumps Maintenance
-
Inspect periodically for damage.
-
Replace worn or loose bumps immediately.
Rubber speed bumps make your streets safer with minimal work. No digging, no heavy materials, just fast, effective speed control.