
While there are many reasons to install a Speed Bump, most people don’t fully understand what the device does. This article provides an overview of some of the benefits of speed bump installation. If you’re in the market for a speed bump, consider these reasons before installing one.
It’s likely to reduce speeding. Ultimately, a speed bump will slow traffic and increase safety. And it will increase traffic safety for everyone!
When used correctly, speed bumps can drastically reduce the speed of vehicles. They can be installed on the side of a highway, road, or other high-traffic location to prevent crashes or other injuries.
Most speed bumps are installed using bolts that are secured into the ground. Before installing a speed bump, you should obtain permission from the landowner or local governing body. If you have any questions, you can always contact with us, and we can help you determine the best traffic calming method for your property.
| SKU | Description | Length | Height | Width | Weight |
|---|---|---|---|---|---|
| SB206FT | 6 Ft Speed Bump (1) 6′ Section With no End Caps | 72″ | 2″ | 12″ | 48.40 |
| SB207FT | 7 Ft Speed Bump (1) 6′ Section + (2) End Caps | 86″ | 2″ | 12″ | 55.40 |
| SB213FT | Single Lane 12 Ft Speed Bump (2) 6′ Section With no End Caps | 144″ | 2″ | 12″ | 96.80 |
| SB219FT | Double lane 19 Ft Speed Bump (3) 6′ Section + (2) End Caps | 230″ | 2″ | 12″ | 152.20 |
| SB225FT | 25 Ft Speed Bump (4) 6′ Section + (2) End Caps | 302″ | 2″ | 12″ | 200.60 |
| SB2ECAP | End cap | 7′ | 2′ | 12′ | 3.50 |
| SKU | Description | Length | Height | Width | Weight |
|---|---|---|---|---|---|
| SB3039I | 39″ Speed Bump (1) 39″ Section With no End Caps | 39″ | 2″ | 13.7″ | 36.20 |
| SB3117I | 117″ Single Lane Speed Bump (3) 39″ Sections With no End Caps | 117″ | 2″ | 13.7″ | 108.60 |
| SB3137I | 137″ Single Lane Speed Bump (3) 39″ Sections + (2) End Caps | 137″ | 2″ | 13.7″ | 124.20 |
| SB3234I | 234″ Double lane Speed Bump (6) 39″ Sections With no End Caps | 234″ | 2″ | 13.7″ | 217.20 |
| SB3254I-2 | 254″ Double Lane Speed Bump (6) 39″ Sections + (2) End Caps | 254″ | 2″ | 13.7″ | 232.80 |
| SB3ECAP-2 | End cap | 10″ | 2″ | 13.7″ | 7.80 |
| SKU | Description | Length | Height | Width | Weight |
|---|---|---|---|---|---|
| SH1018I | 18.75″ Speed Bump (1) 18.75″ Section with no End Caps | 18.75″ | 1.25″ | 2″ | 22.20 |
| SH1112I | 112.5″ Single Lane Speed Bump (6) 18.75″ Sections with no End Caps | 112.5″ | 1.25″ | 2″ | 133.20 |
| SH1128I | 10 Ft Single Lane Speed Bump (6) 18.75″ Sections + (2) End Caps | 128.5 | 1.25″ | 2″ | 148.80 |
| SH1225I | 225″ Double Lane Speed Bump (12) 18.75″ Sections with no End Caps | 225″ | 1.25″ | 2″ | 266.40 |
| SH1241I | 20 Ft Double Lane Speed Bump (12) 18.75″ Sections + (2) End Caps | 241″ | 1.25″ | 2″ | 282.00 |
| SH1ECAL | LEFT End Cap | 8″ | 1.25″ | 2′ | 7.80 |
| SH1ECAR | RIGHT End Cap | 8″ | 1.25″ | 2′ | 7.80 |
| SKU | Description | Length | Height | Width | Weight |
|---|---|---|---|---|---|
| SH2019I | 19.75″ Speed Bump (1) 19.75″ Section With no End Caps | 19.75″ | 2″ | 3″ | 48.00 |
| SH2121I | 10 Ft Single Lane Speed Bump (5) 19.75″ Sections + (2) End Caps | 121.75″ | 2″ | 3″ | 273.00 |
| SH2240I | 20 Ft Double Lane Speed Bump (11) 19.75″ + (2) End Caps | 240″ | 2″ | 3″ | 561.00 |
| SH2ECAL | LEFT End cap | 11.5″ | 2″ | 3′ | 16.00 |
| SH2ECAR | RIGHT End cap | 11.5″ | 2″ | 3′ | 16.00 |
Best way to avoid crashing into a speed bump
The best way to avoid crashing into a speed bump is to drive slowly and carefully. A speed bump can severely damage your vehicle, so you should slow down if you can. When you can, release your brake before the bump to ensure a smooth and easy ride.
If you can’t do that, then consider changing your route or driving slowly over the bump. If you’re unable to do this, however, you can still cause damage to your vehicle.
While most people think of speed bumps as a nuisance, they can actually reduce speed and prevent accidents. They also work in any weather conditions, so they’re an excellent option. The following information will help you determine which type of speed bump would be best suited for your road.
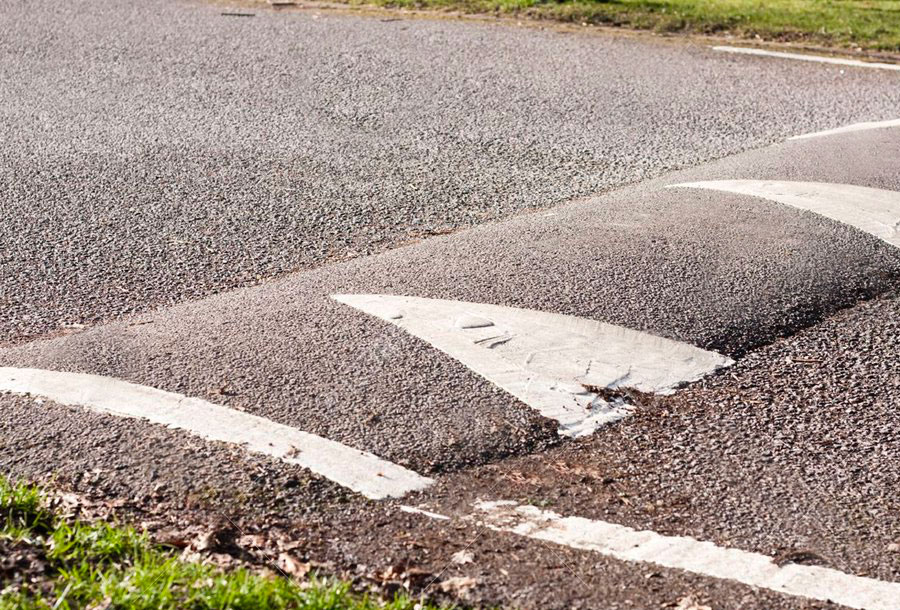
The biggest difference between a speed bump and a high-speed hump is in the height of the hump. A speed bump is a few inches taller, while a high-speed hump is three to four inches taller.
It’s important to remember that a speed bump is more drastic and gives a driver a larger bump than a high-speed hump does. A high-speed hump is three or four inches high and feels much like two gentle motions.
In urban settings, speed humps are typically found in one and two-lane local streets. They are most often twinned with other traffic control measures, such as obstructive barriers. And when installed properly, a speed bump can slow traffic as much as 20%.
The best way to use one is by learning more about how they work. And you can install one yourself. It’s never too late to install one!
What needs to be done before a speed bump is installed?
Before a speed bump can be installed, the city needs to review the street. Usually, it requires the signature of 75% of the residents of the street. This is necessary for the city to approve the speed hump installation.
It’s important to note, however, that the speed hump installation will occur during the next repaving of the street. Moreover, if you’d like to get it installed before the next repaving, you need to pay for it.
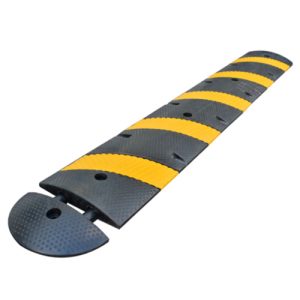
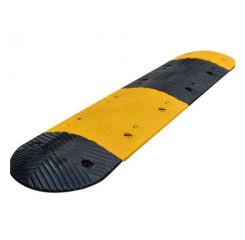
6′ Economy Recycled Rubber Heavy Duty Speed Bump
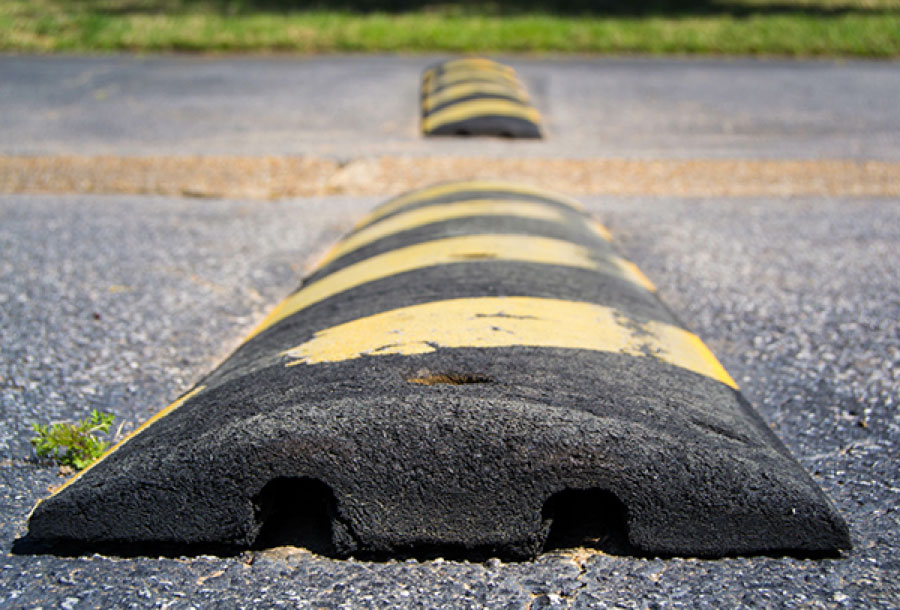
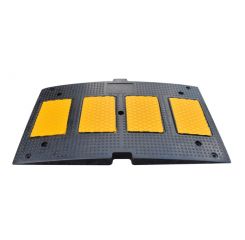
Recycled Rubber Speed Hump – Yellow / Black Single Lane or Double Lane
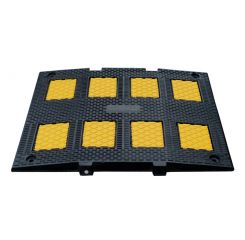
Premium Reclycled Rubber Safety-Striped Speed Hump – Reflective Rubber
Heavy Duty Rubber Speed Hump – Yellow / Black – Low Profile Speed Bump